Processing

Other Services - Did You Know?

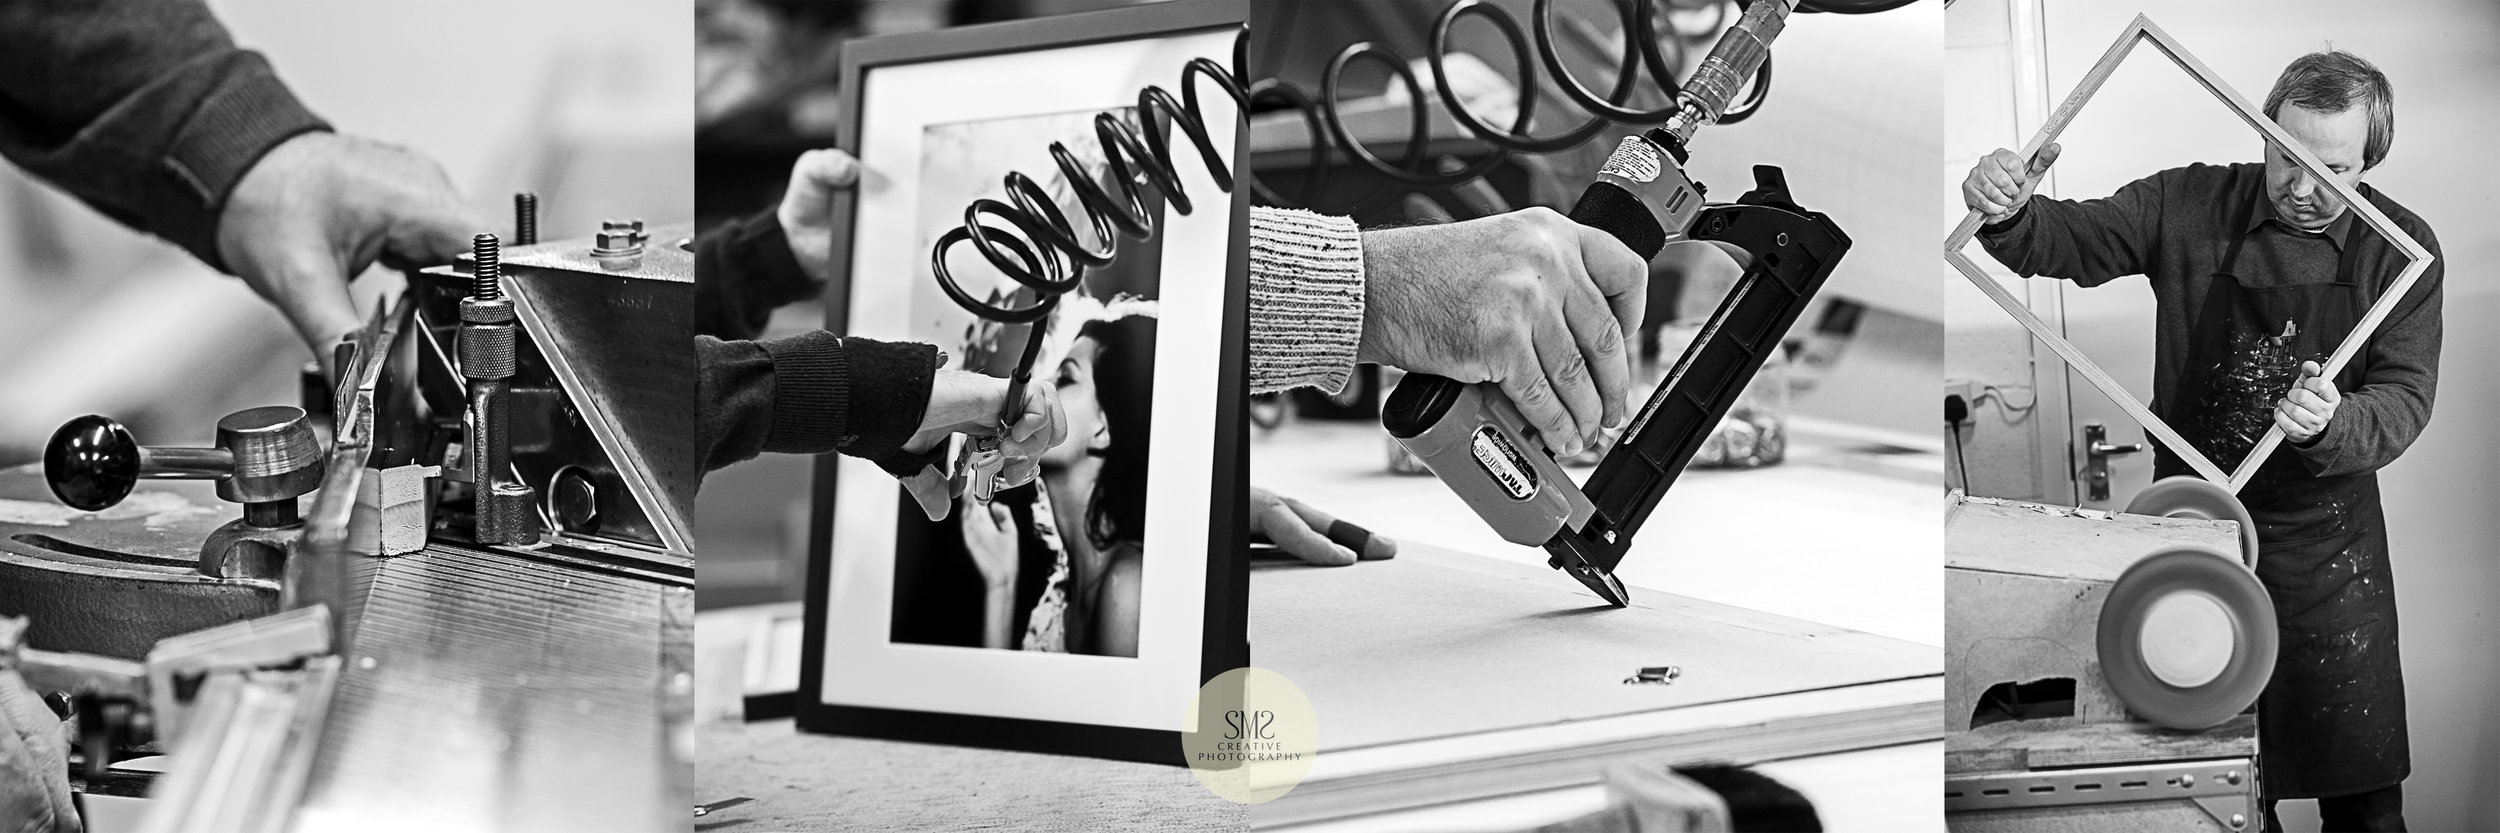
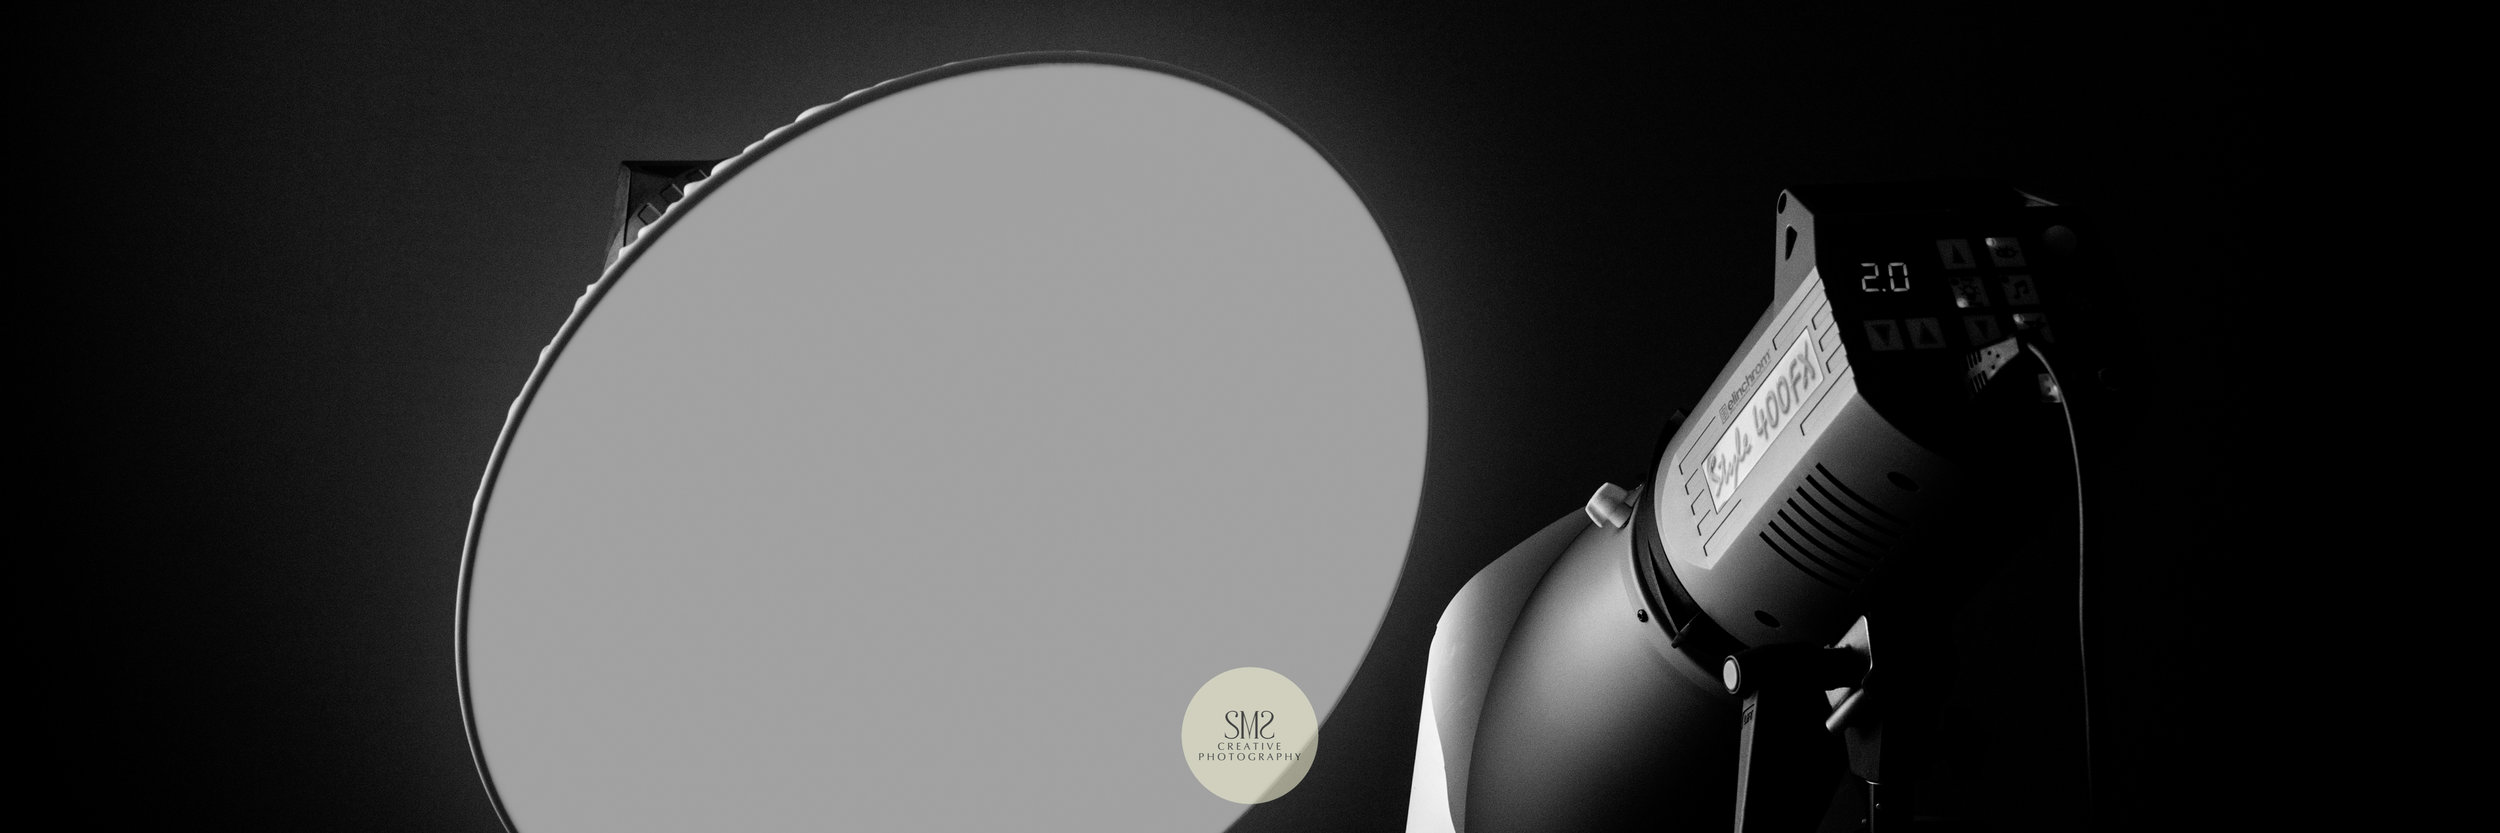
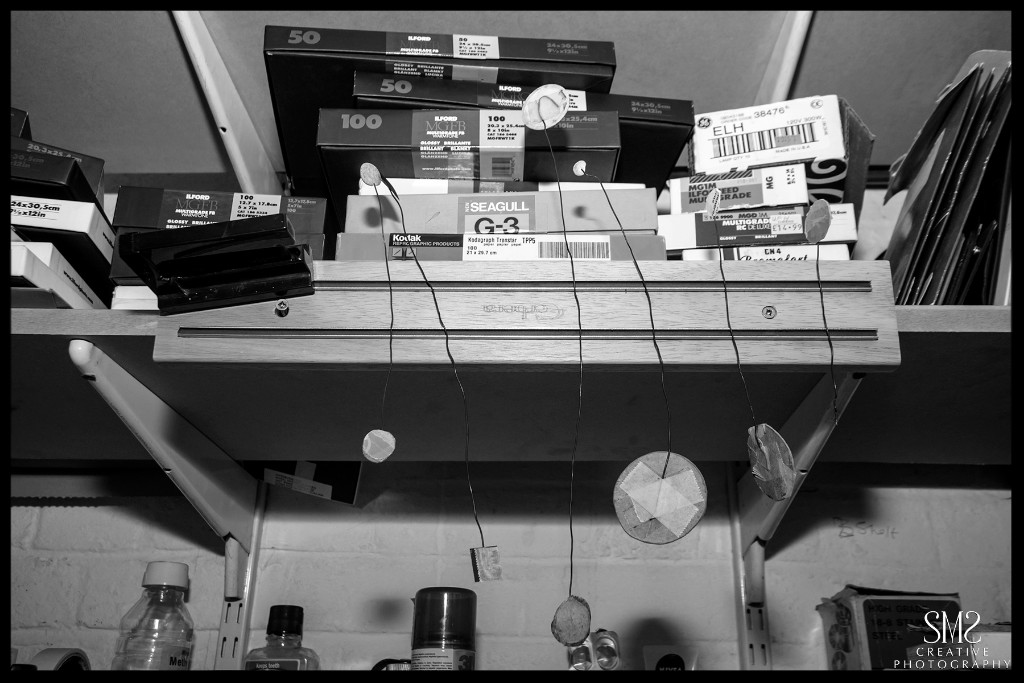
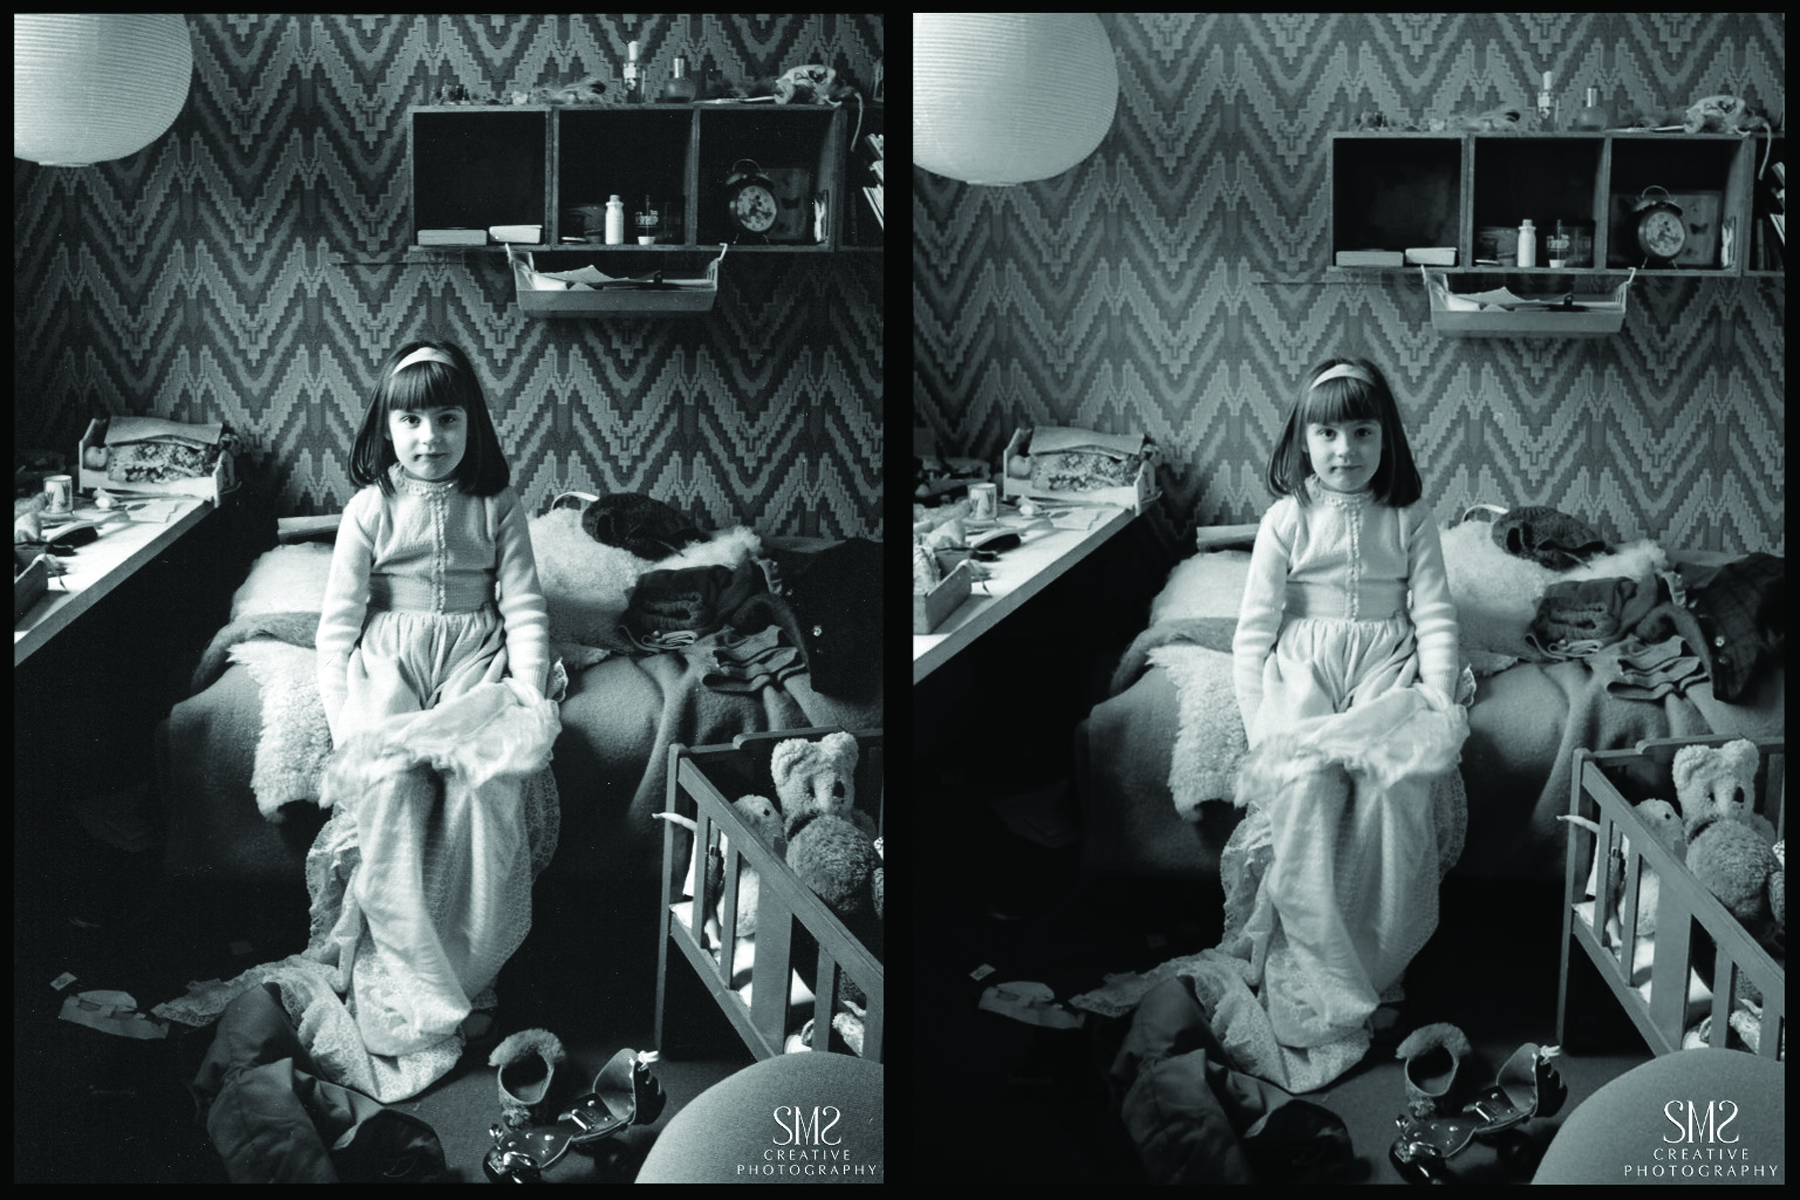
As well as our sought-after studio and location photo-shoots I just wanted to let you know, or to remind you, that ever since we opened in 1997 we have been offering a wide range of other services, including bespoke framing, passport and ID photographs, and a scanning and restoration service to breath new life into old photographs.

To find out more about these services, simply visit our website on the appropriate buttons below and when you are ready, call into the studio so we can give you our friendly, helpful expert advice and service. 

Just one other point of interest that may well appeal to you, a friend or family member is our individual Masterclasses to help you understand your camera better, further information can be found via the button below.

Stella

SMS_201807_Banner_2.jpg
SMS_201807_Banner_3.jpg
SMS_201807_Banner_1.jpg
SMS_201807_Banner_4.jpg


From Camera to Wall - Part One - Framing and Hanging

In the modern day, the perception of a photograph has changed with the advent of the life altering device that lives in all of our pockets, the mobile phone. With the benefits of a sense of consistent connection to all, but more appropriately the speed and ease of photography. Photographs now have a very different meaning, or do they?

We can all still admire the end result of a professional photograph hanging on a wall, but do we really know what it takes to get to this stage? I'm unsure we do, let me take this opportunity to unveil just what this process entails.

Starting in reverse order, with the final stage first - Framing and Hanging - part one in a series of six fortnightly newsletters. Over the coming weeks, demystifying the steps we take from 'Camera to Wall’.

Framing

From Camera to Wall Comp 1

Once you have selected the frame you'd like to showcase your photograph in, we work closely with master craftsmen we trust to achieve first class results. The wooden mouldings are made in England and Italy in a wide range of finishes. Each photograph is dry mounted to keep flat with an overlay mount if preferred, then sealed in the frame to prevent moisture and dust from seeping in.

We recommend using Art Glass, to cut reflection by 99% and to reveal the true colours of the photograph that ordinary glass doesn't. For work that is being transported abroad, acrylic instead of glass is a must, it's lightweight and shatter proof.

Nothing passes quality control until every join and cut is inspected to pass our strict attention to detail. We even make sure each piece has it's own certificate of authenticity added to the back, this shows which frame and mount card was used and the date the photograph was taken on, just to remind you in years to come.

Hanging

From Camera to Wall Comp 2
From Camera to Wall 2

We also offer a service to deliver to your home or work premises, and to hang your photographs, so easy to get this part wrong. I oversee the hanging process using a trusted gallerist, who comes equipped with the correct tools for the job, including a laser line level, so vertically and horizontally everything is spot on, no more left a bit down a bit! Always a pleasure to see the end result and happy customers.

Please join me in two weeks time for Part Two - Meeting the Customer and Planning the Shoot.

Bye for now.

Stella

Let's Get In The Darkroom

Robin Bell in his London studio where he continues to process and print by traditional means.

For people born in the last decade of the 20th century a dark room isn't something they would necessarily associate with photography.

With this in mind, I'd like to tell them and remind others born before 1990 just exactly what did, and still does happen in the photographic dark room.

When I started my photographic career back in the 70s processing black and white film and printing the images were just as important as taking the shot. It takes a very skilled processor and printer to interpret the photographers vision - the two work together to create outstanding results.

A recent visit to Robin Bell in Fulham took me down memory lane. I was fascinated to see that very little had changed since the early days of this dying art. Robin is one of Britain's most respected black & white printers and just by spending a few hours watching him at work it was clear to see why.

Checking to see the images once processed.

Film Processing

Once the film has been loaded on the spiral it is processed in temperature controlled developer for a certain number of minutes, this depends on the type of film and the exposure the photographer has taken the images at, this process is all carried out in total darkness as stray light would fog the film.

Preparing the film for drying.

Drying

After the developing process of 3 different chemicals, developer, stop bath and fix, the film then needs to be washed in a solution to prevent drying marks and then hung in a warm air cupboard ready for printing, this last process can be carried out in normal lighting as the light sensitive part finishes once the film is in the fix solution.

In the darkroom holding the enlarger to print the image on paper, this process is carried out in amber lighting.

Printing

The negative is placed in a carrier above the lens in the enlarger which is then projected onto light sensitive paper, depending on the negative quality Robin chooses the appropriate grade of paper for best results, this is all carried out in amber lighting which the paper isn't sensitive to. Just like a camera, the enlarger has a lens to focus the image on the paper and a timer is set to expose for the correct exposure.

Custom made dodge tools used to hold back various tones in the printing process that need less exposure to light, and above the tools are boxes of printing papers.

The 3 trays of chemicals, from left to right, developer, stop bath and fix.

Boxes of negatives from photographers such as, Justin Leighton, Terence Donovan, John Swanell and Marcus Tomlinson.

Finishing

When the photograph has been through the chemical solutions it then needs to be washed and dried before any dust spots are retouched. Using a fine paint brush and black retouching dye in various concentrations, this technique that can take a lifetime to master!

A print of Calvin Harris perfectly printed.

A print of Audrey Hepburn Robin printed for a recent exhibition about the screen icon.

Compare Traditional to Digital Printing

The above two photographs are from the same 35mm black and white negative, the one on top was printed by Robin in the darkroom as described above, the picture bellow was by digital means.

The negative was scanned to a high resolution, then via photoshop any dust spots and scratches removed and converted to black and white so there aren't any stray colour casts, with a few tweaks of levels and contrast it is then inkjet printed.

The difference you can see is that the tonal range on the left is far richer, showing true blacks compared to the digital inkjet print on the right.

You can still achieve a good tonal range digitally by using a good quality fine art paper, but not quite as rich as traditional black and white printing.

If you would like to have a studio or location shoot in black and white film, for traditional printing, do let me know so I can dust off my film cameras to create something a little more bespoke.

Thanks for reading I'll be back next month with news about my location bluebell shoots which are soon to flower.

Bye for now

Stella