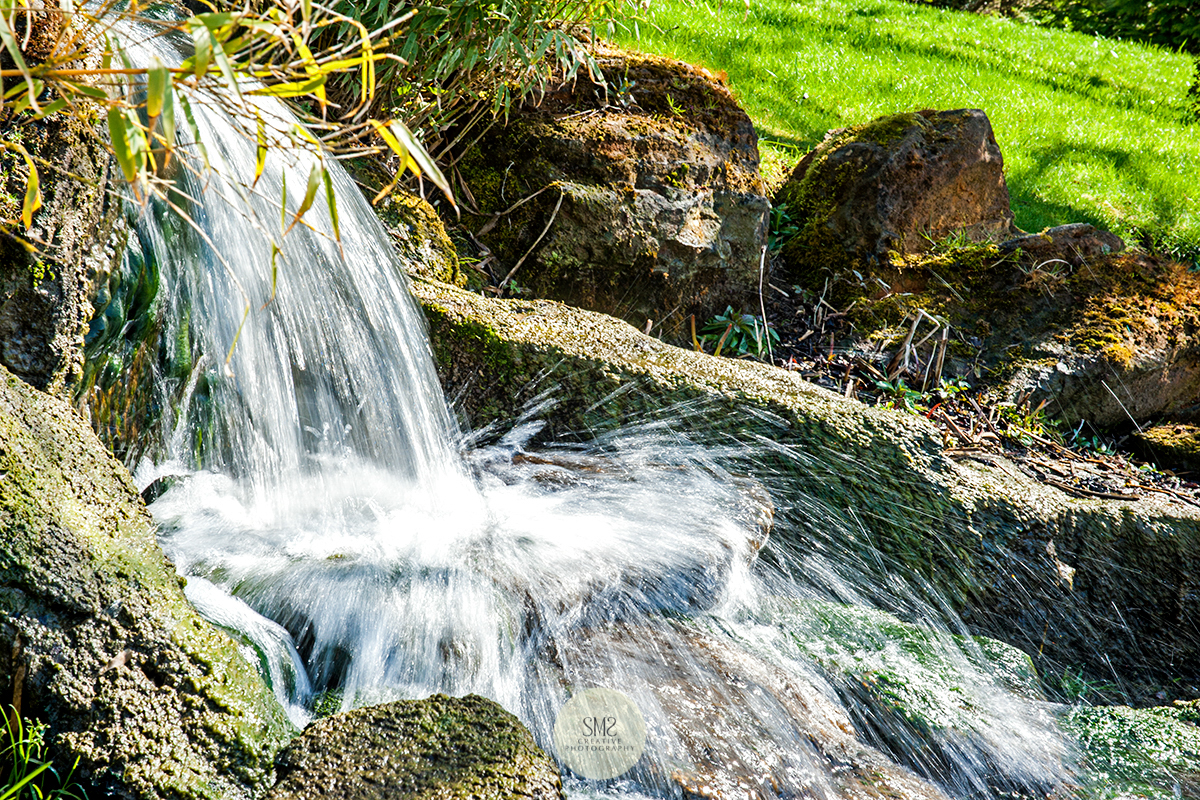

Following on from my photography tips from March, this month I am explaining how to use shutter speed to your advantage, to show motion, either to slow it down or to freeze it. This works particularly well for moments that are fleeting, for example as shown here with the flow of water, the same principals apply for sports photography.
Simply follow the steps below and enjoy the experiment!
1. Depending on how close you are to your subject, this generally works best with a 24mm -120mm so you have varied range of focus. A focal range similar to this is fine - remember there are no hard and fast rules.
2. To show motion, select a slow shutter speed 1/15 of a second and below.
3. It is best to use a tripod to avoid camera shake, or make sure you are leaning against something sturdy to support yourself. Alternatively you can stand with your legs apart and your elbows close to your body to minimise camera shake.
4. Select auto ISO as you maybe restricted with your maximum aperture opening. Just to remind you that ISO controls the sensitivity of light on the digital sensor. Auto ISO will increase or decrease the sensitivity by going up to increase or down to decrease, in numbers from 200 - 400 - 800 - 1600 - 3200. If you prefer you can control this manually.
5. Select you aperture at f5.6 and take the shot, experiment to achieve your desired effect and exposure.
6. To show frozen motion select a fast shutter speed about 1/500 of a second or more.
7. Keep the aperture to f5.6 and the ISO to auto. Take the shot and experiment with different exposures to achieve the desired effect.
If you would like more advice to help you understand your camera one to one, I offer masterclasses tailored to suit your knowledge and ability. Alternatively, you and a friend can take a class with me.
Stella