
Welcome to part five of six newsletters 'From Camera - Wall'
Following on from the previous newsletter 'Viewing Session and Choosing What's Best For You', we are now exploring 'The Art of Post Production'.
Post Production
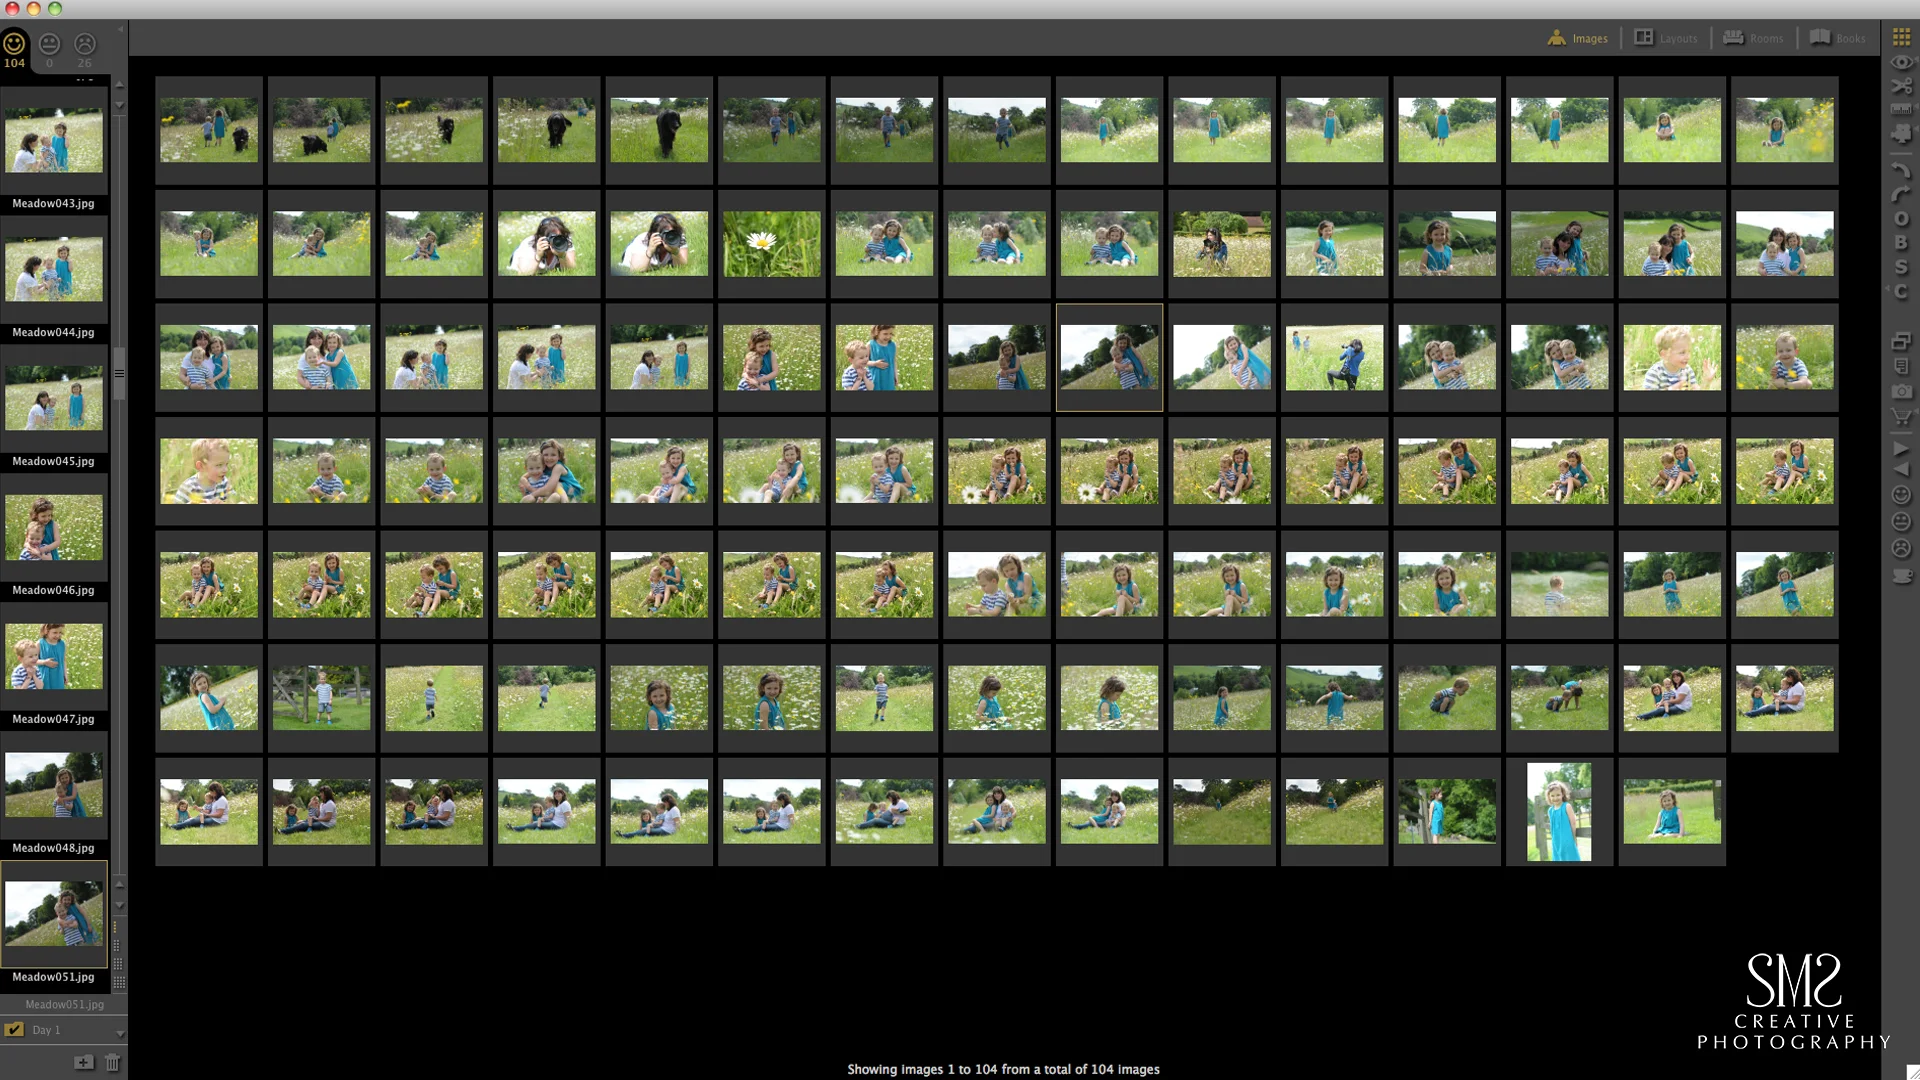
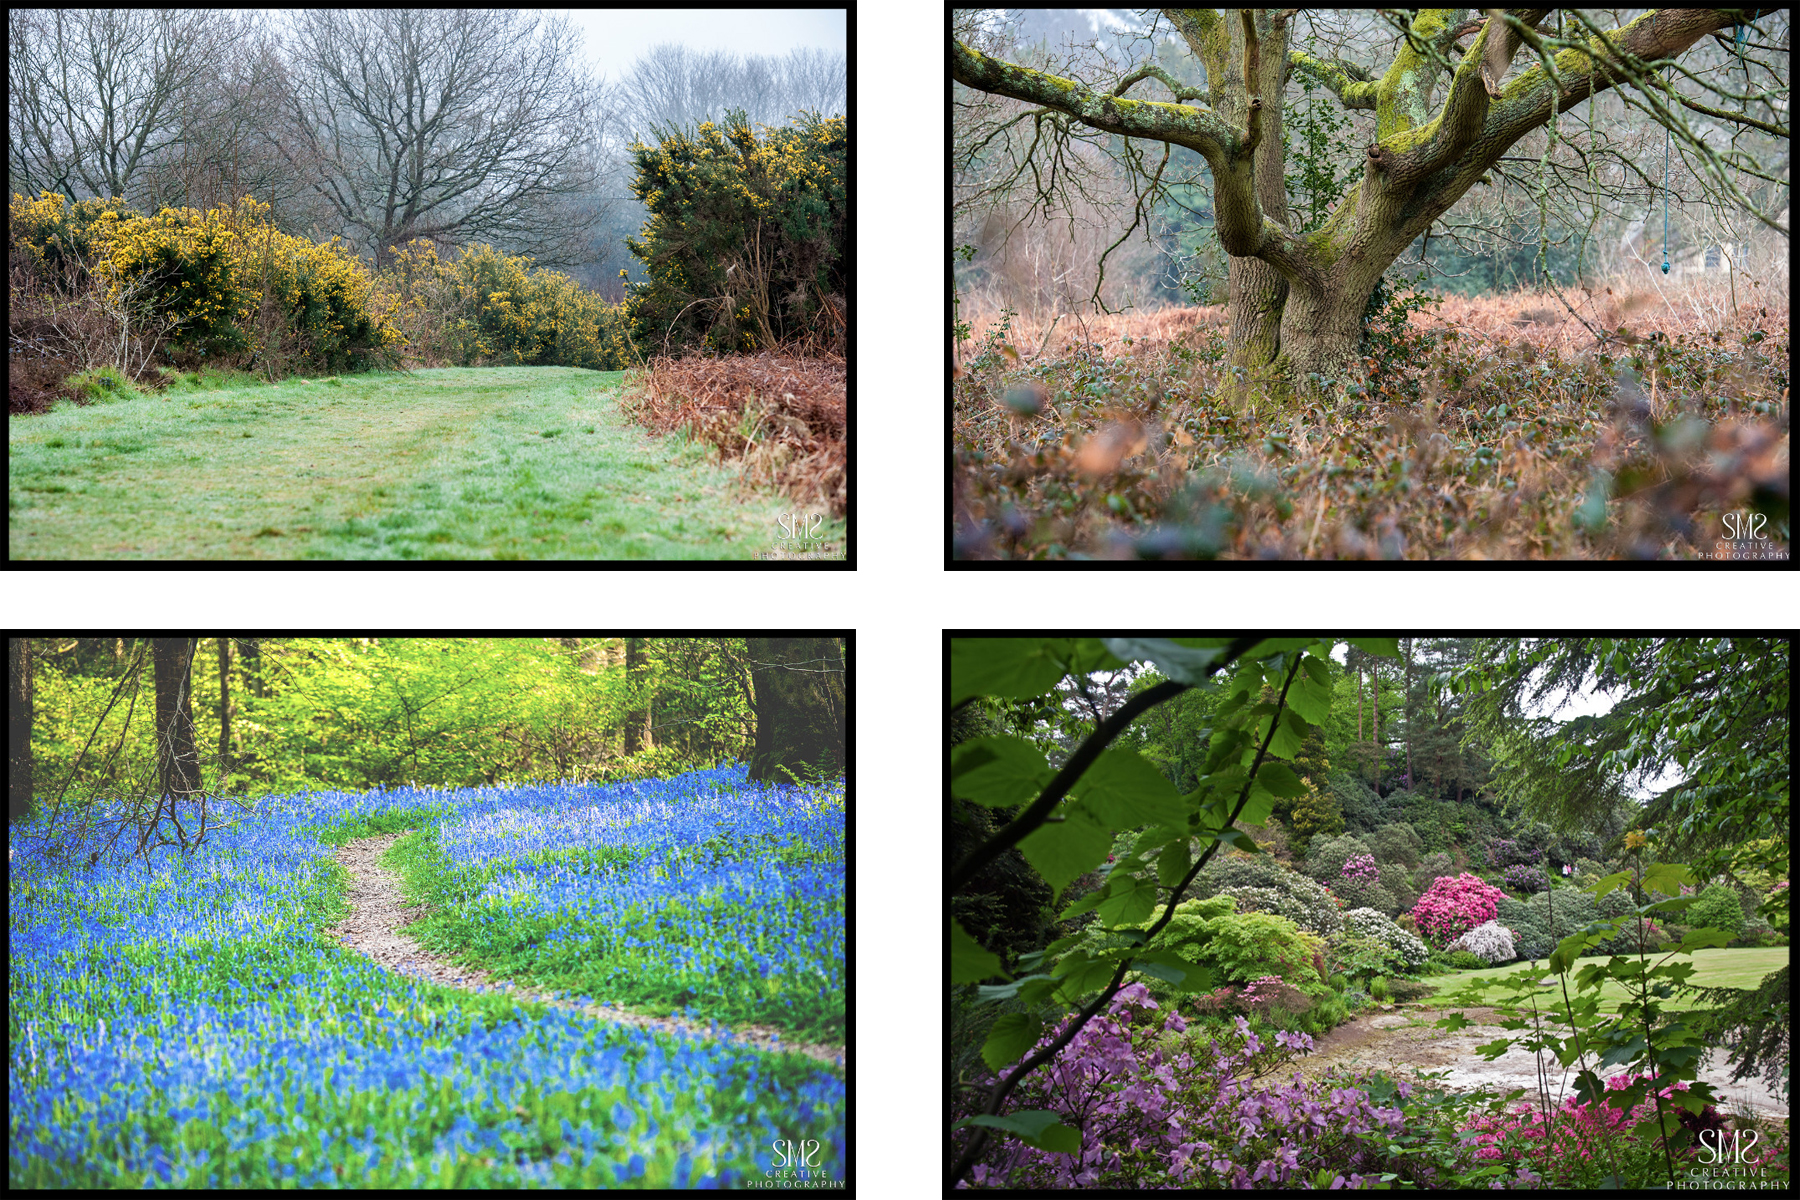
With modern day technology being so accessible, we have become accustomed to instant results at the touch of a button. I'd like to give you a glimpse behind the scenes at SMS Creative Photography with this short video below, demonstrating just what's entailed in the post production process with Ben, one of our skilled in-house digital artists.
All the images we take are treated individually and processed through a series of careful actions to reach our stringent standards, we are so proud of.
Please join me next time for the final part of the series 'Printing' to learn a little more about the process 'From Camera to Wall'.
Thanks for reading!
Bye for now.
Stella